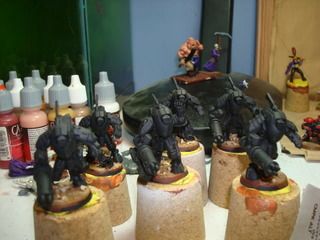
1. Each model was primed with black primer. Typically, I prefer not to use black, but since I will be using a lot of layers in this color scheme, I don’t think it will be an issue.
Shading Coats
2. The first layer of the coats intended to shade the model is a combination of Vallejo Black Red and Vallejo Scab Red (4:1:1 Black Red: Scab Red: Thinner). This coat should cover anywhere that is being painted red.
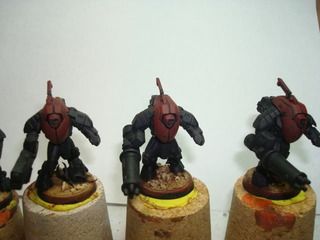
3. The second layer is a combination of Vallejo Black Red/Scab Red which now includes Vallejo Glaze Medium (4:1:1:1, Scab Red: Black Red: Glaze Medium: Thinner). This layer should cover 95% of the model with strokes moving away from where the red will be darkest.
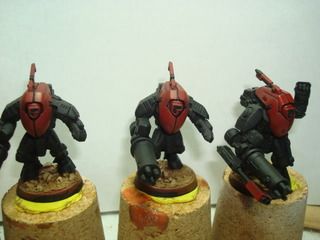
4. The fourth layer is now a straight coat of Scab Red with glaze and thinner (4: 1:1, Scab Red: Glaze Medium: Thinner). This layer should cover about 85% of the model and is the last layer I use for shading the model.
Base Coats
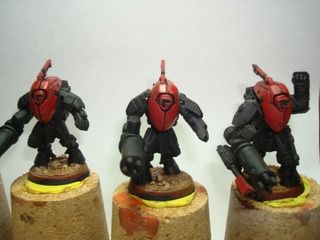
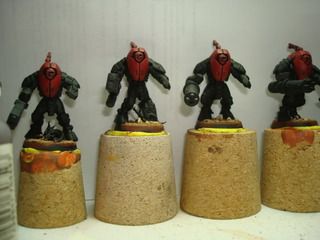
5. The next few layers are meant to be the primary color of the model and define the overall look of the red scheme. The first base coat layer is a mix of Scab Red and Red Gore (4:1:1:1, Scab Red: Red Gore: Glaze Medium: Thinner) that covers around 80% of the model.
Highlighting Coats
6. The first layer that is intended for highlighting the model involves the use of Red Gore and Blood Red. This layer is different from the prior layers as it involves a mixture that contains more glaze and a sharp decrease in the percentage of model covered by the layer. Identifying the edges which will get highlighted, roughly 25% of the model will receive a layer of Gore Red and Blood Red (8:1:4:2, Red Gore: Blood Red: Glaze Medium: Thinner). This layer should be applied so that your brush moves towards the point that will receive the strongest highlights.
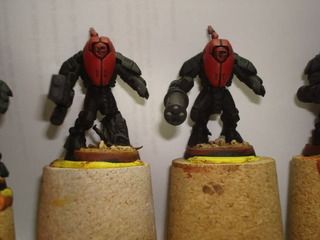
7. The next layer continues the mixture of Red Gore and Blood Red (4:1:2:1, Red Gore: Blood Red: Glaze Medium: Thinner) and should cover about 20% of the model (again focusing on the areas intended for highlighting).
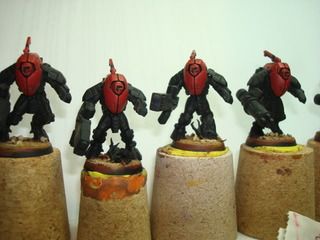
8. The next layer changes the colors with a focus on bring out the edges and areas of extreme highlighting. A mixture of Blood Red and Orange Fire (4:1:1:1:1, Blood Red: Orange Fire: Red Gore: Glaze Medium: Thinner) is applied along the edges and other key points on the model.
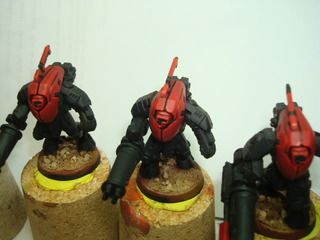
9. While not a true blending of colors, the use of Vallejo’s Transparent Red does reduce the extreme in colors between shading and highlighting and gives the model a nice blended look. Using a mixture of Transparent Red and Thinner (1:4, Transparent Red: Thinner), the 90-95% of the red areas are covered and than allowed to dry. Once dry, review the model and apply another coat of “blending” mixture. Repeat until satisfied.

No comments:
Post a Comment