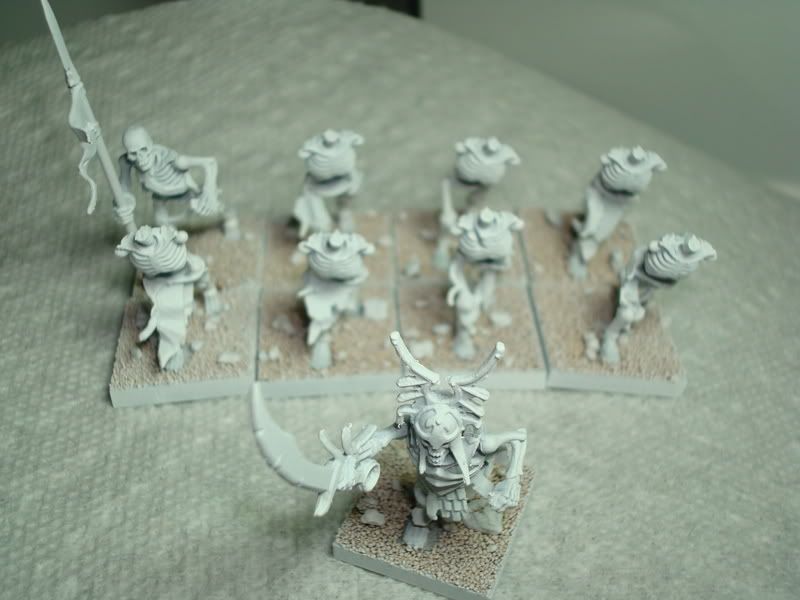
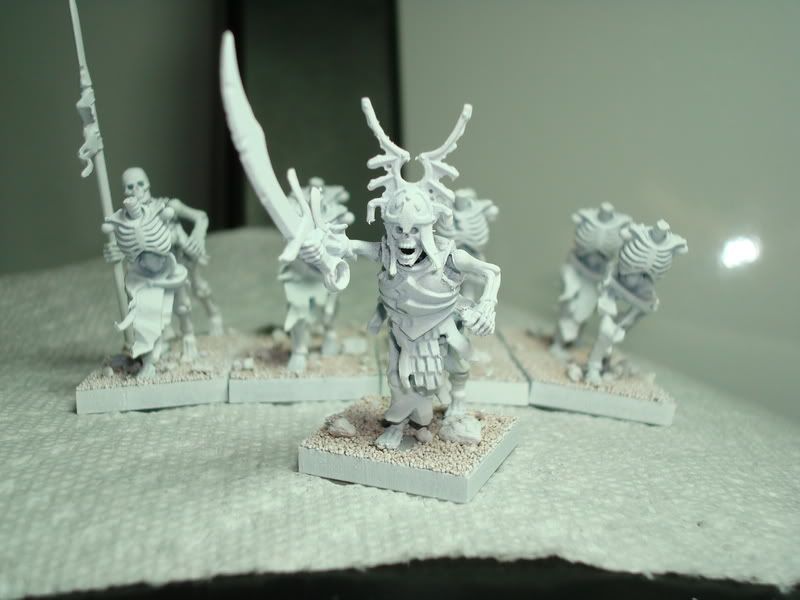
Sometimes you realize your mistakes only after you can’t correct them. In this cause I decided to break with doing the models in parts and assemble a few complete skeletons so I could get a better feel for the models. This may sound weird, but I purchased the new skeletons from a dealer on Ebay that ships the sprues without the box. Since I don’t pick-up WD, I didn’t have many images of how the models look once completely assembled. That said, I put together a real basic skeleton with a spear, which I really liked. This prompted me to assemble another with armor, a big helmet, and a large pointy sword. For those following along, that is where I made the mistake. Only after letting the plastic glue dry, GW brand by the way, I realized that there were places on the model that may be quite difficult to reach with a paint brush that is not curved in the shape of a ‘S’ and about a size 36/0.
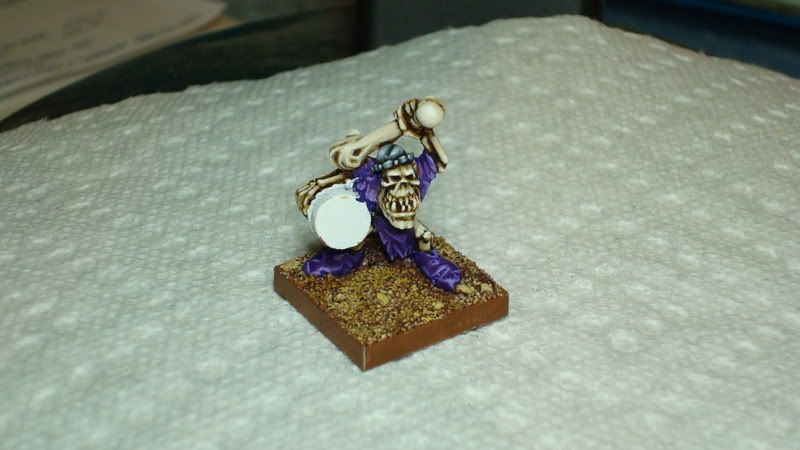
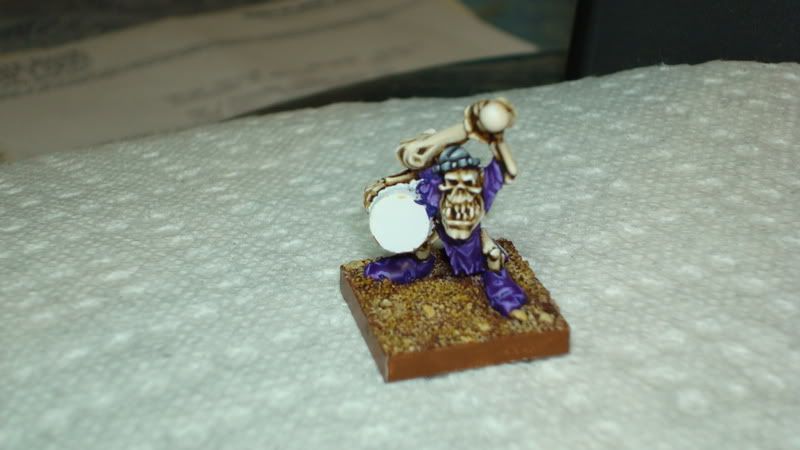
Moving back to actual painting, with the bone completed, I decided it was time to tackle the clothes. All of my WFB armies have the color purple as one of their base colors. The reason for this is I like the color and it allows me to swap units using the DoW rules. That said, I wanted to work out a faster paint scheme than the one I have used in the past, since that scheme used mixing hexed purple and white and gradual layers. To reach this goal, I decided to use a Vallejo color called violet blue. It seems like a good fit into the scheme and looks like to would cut out a couple layers.
I begin the purple with a base coat of royal purple (4:1 royal purple: thinner) using a size 0 brush. I allow the first coat to dry before applying another coat. Once the second coat is applied, I begin to mix and apply a coat of royal purple/hexed lichen (3:3:2 royal purple: hexed lichen: thinner). I apply two coats of this color in thin, but rapid succession, thus giving an overall even coat. Next, I apply two coats of hexed lichen (4:1 hexed lichen: thinner, 00 size brush) in the same manner but leaving more of the last layer showing in the deepest crevices.
At this point, I take a break and let the paint dry for an hour. When I return, I begin to highlight using a mix of hexed purple and blue violet (2:2:1 hexed purple: blue violet: thinner). I apply two coats, the second one covering less area and being applied with a lighter touch. Next, I apply a layer of highlight using just blue violet (3:1 blue violet: thinner, 10/0 size brush). Last, I apply a layer of blue violet/skull white mix (3:3:2 blue violet: skull white: thinner, 10/0 size brush) for the final highlights.
Next Time: Working the forge.

I'm pretty sure GW sells a curved brush for getting at those hard-to-reach places... at least all my GW brushes have curved bristles. That's how they are supposed to be, right? RIGHT?!
ReplyDeleteI'm lovin' the purple. I might have to use your recipe whenever I get around to painting my Daemonettes.
Keep up the how-to posts!
Shrink: I am eager to see your daemonettes. Let me know when you get around to painting them. As for curved brushes, I swear it feels like I manufacture them with the way I need to replace brushes cus I left them laying wrong on something.
ReplyDelete