The first step can be the most difficult; it can also be the last.
There is much to say about one’s ability to stay focused. It’s a talent, and one I am not sure that can be taught as much as developed. (I feel like Confucius) That said, I needed to create for myself an environment that allowed me to gain that ability, if not fake it for the length of this project. If you read my first post, I provided a list of my goals and plans to accomplish that need, so I will refrain from going over it again. The point for now is that I have implemented the action plan.
The first unit on my plate is a skeleton unit that will stand in as the front of a Cursed Company RoR in addition to being a unit in a VC army. Since it has been awhile since I picked up a brush, I decided I needed to work out a color scheme for bone that was bright while easy to repeat and pretty resistant to color drift. When I say color drift, I mean when colors in an army drift as it is painted where the red in the beginning doesn’t match up perfectly with the red on the last unit. Good note taking and pictures can help a lot with this problem, especially if you take the time to capture each layer or couple layers.
With the skeletons, and all bones in my army, I wanted something that was based in brown and shifted to a bright off-white. This is not a difficult want as there are plenty of excellent tutorials out there on how to accomplish such a color range. In the end, I decided to borrow from one that was posted on the GW website and makes slight changes to fit using Vallejo paints and add a little depth.
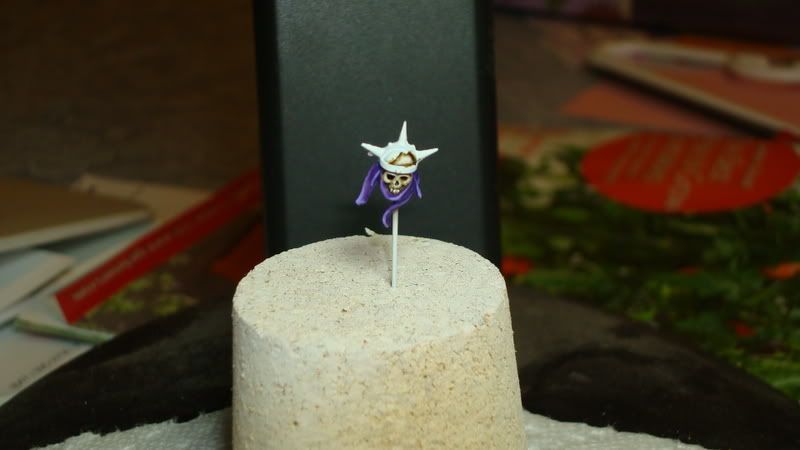
With the overall color scheme for bone decided, my next step was to work on a few test bones to get a feel for painting the new skeletons plus getting the details of the color scheme (i.e. coverage per layer, wrong colors, etc.) When it comes to painting, I like to use little model holders I have created from cork and pins. They help me work with the model without having to place my greasy hands all over it and ruining my work. They also allow me to work on the model in pieces when I feel that is the best way to paint it.
So I selected five heads, three generic skulls, one with hair and one with a helmet. The reason for the mix was I felt it would best represent how the majority of my army will look in terms of heads. (Wow, do I like to babble)
To begin, I am priming everything in white. As most of you know, white is the preferred primer if you want your colors to look bright, but it is also much more difficult to use as it is more obvious when it bleeds through other colors. Still though, I want these guys to be bright, so white primer was the only choice for me.
Next, I gave the models two thin coats of desert yellow. (4:1 desert yellow: thinner). I like to use an acrylic thinner instead of water, so I use Model Masters thinner.
Once the base coat has dried, which is usually within a few minutes, I mixed a wash of brown and black ink to cover the bone. (3:1:4 brown ink: black ink: thinner) I usually only use inks for metallic paints, but for this project I decided to give it a try and see how it works.
At this point, I have some waiting while the wash dries, so I decided to work on cleaning more bitz off the skeleton sprues. I get through cleaning the legs and torsos just as the stove calls time on the day.
[Due to technical difficulties, the pictures I took for the steps above were blurry, so I decided not to attach them. Instead, I am posting a promo picture for the next post. When I do my next batch of skeletons, I will put more pictures into this post]

Next Time: Why does your husband have a bunch of little heads on sticks?

No comments:
Post a Comment