One Fish, Two Fish…
Red Fish, Dead Fish…
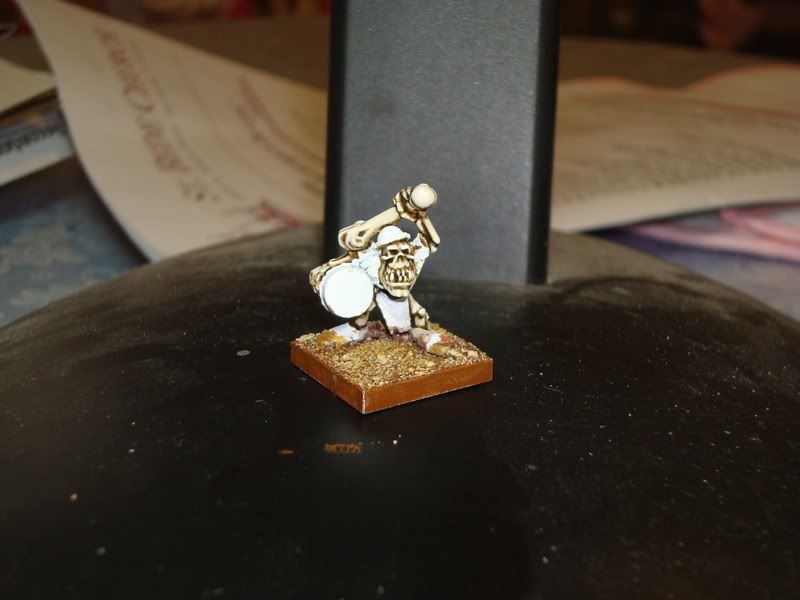
This project has started at a nice pace, and the first test of the bone scheme I am going to use has been successful. The next phase in the project, and completing the unit, is to complete one model with the complete color scheme to make sure it works for me. A lot of the actual palette for each color has already been decided as I want this army to blend with my other two, but I wasn’t sure as I began that the bone scheme would match-up well.
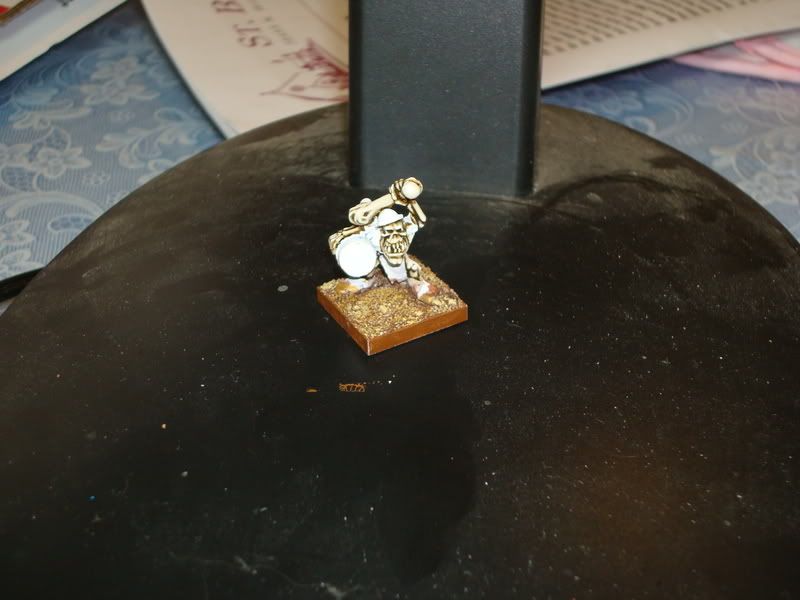
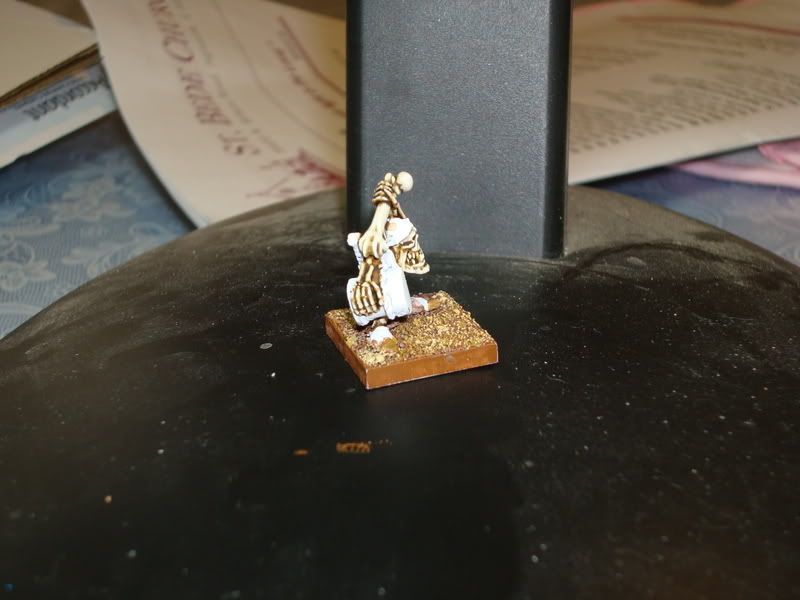
To begin this piece of the project, I needed to select a complete model. I decided to go with the musician from the Cursed Company as I could strip him if the paint job wasn’t what I was wanting. It was also a good test model for me as the model is packed tight so portions of it would be difficult to paint, thus completing it would feel like a reward to me.
Before I can prime the model, I needed to base it. For this project I have decided to use George Bases instead of the ones provided by GW. I like George Bases because they come in the same sizes as GW ones, are wood, thus heavier, and aren’t angled down the sides like GW bases, thus creating a more uniformed look when models are ranked up. The bad thing about George Bases, there is only one store I know of that carries them, Games Plus in Mount Prospect, IL.
I apply the model to the base using Elmer’s Super Glue (Gel). I like using this particular glue for a couple of reasons. One, it’s not runny, so I don’t normally glue myself to the model, though it does happen. (Actually it happens as often as me stabbing myself while cleaning models, and that happens more often than I care to admit.) Two, if I make a mistake, acetone removes the glue pretty easily.
Once the glue was dry, I proceeded to coat the base in Elmer’s glue, the white stuff, using a garbage brush to spread it evenly across the surface. Next, I dipped the model in a bowl of fine sand. Since dipping the sand causes the glue to shift and stick some of the sand to the sides of the base, I use another base to clean and makes sure no sand is hanging over the edges. With that done, I set the model aside to dry and work on cleaning more skeleton parts till the timer goes off.
The next day, I take the model out to the garage and give it a few light coats of white primer. I then let it sit for the remainder of the day and focus on other non-hobby activities.
Moving on to the next day, I start the model by painting the base. I first cover the base with a thinned coat of charred brown (4:2 charred brown: thinner). I then wait a few minutes, using the time to clean another spear, and proceed to give the base another coat. Once the second coat is applied, I let the model sit again till it dries. Once dry, I next drybrush a coat of dark flesh (4:1 dark flesh: thinner). This was followed by two layers of bestial brown (4:1 bestial brown: thinner) drybrushed and than a few layers of bleached bone (4:1 bleached bone: thinner) drybrushed. At that point, the bell rung and the round was over.
With the base painted, I proceed to paint the bone portions of the model using the color scheme I decided on.
Bone Color Scheme
4:1 desert yellow: thinner, 0 size brush
3:1:4 brown ink: black ink: thinner, 00 size brush
4:1 desert yellow: thinner, 00 size brush
2:2:1 desert yellow: bleached bone: thinner, 10/0 size brush
4:1 bleached bone: thinner, 10/0 size brush
2:2:1 bleached bone: skull white: thinner, 18/0 size brush


Next Time: Picking out something for my skeleton to wear.

I love reading the processes that others go through when working on their models. Thanks for posting this! I'm looking forward to the next installment.
ReplyDeleteNice work - thanks for posting the method & colour mixes.
ReplyDeleteShrink - I do as well. It is always great to read others appreciating the same things as me.
ReplyDeleteJabber - No Problem. Thanks for reading!