When looking at the selection of bases available, I decided to go with the Broken Wasteland series. The reason I selected these was that I liked the look of the grainy desert areas when contrasted with the cracked tile sections of each base. I also selected them as I am painting the bases first and deciding what to mount on them later. I do like the Lost Empires series, but may save them for a future project. Also, the selection of square bases is much smaller and the ones available just are not as interesting or impressive as those offered by Back-2-Base-IX or Microart Studios.
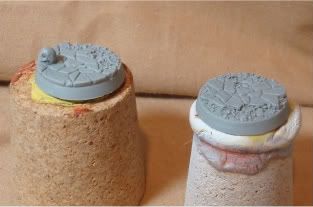
I began the process of preparing the base by cleaning the small amount of flash on the bases. After I cleaned them, I gave each base a wash with warm water and a drop of dish soap. Once the bases were dry, I gave them a coat of white primer (Army Painter brand) and allowed them to dry overnight.
To start the process of painting them, I applied a diluted coat of Snakebite Brown to the gravel areas of the bases. After the layer dried, I applied another layer to the same areas to assure that I had a reasonable amount of coverage. While the one section was drying, I also applied a coat of Desert Brown to the skull on the one base.
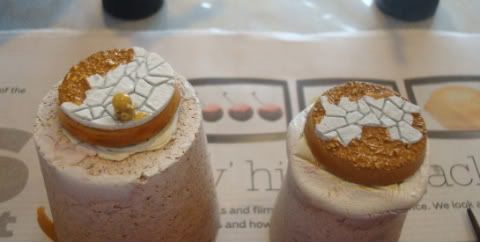
The next layer was to the cracked tile. I used a thinned layer of Desert Sand which was applied in two coats to make sure I had covered all of the white primer.
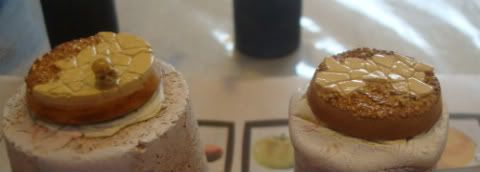
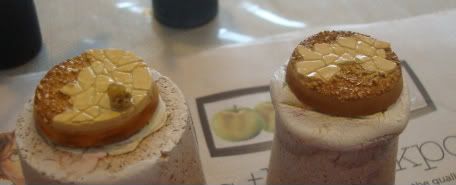
With the base coating finished, I applied a thinned wash of GW Sepia to the bases (excluding the skull on the one base). Once the wash dried, I went back with a slightly thicker wash of Sepia that was applied to the deeper sections of each base and to spots that were bleeding the base coat.
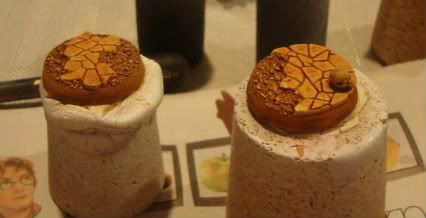
Once the washes were dry, I applied the first layer of paint to the cracked tile sections of the base. I used a 50/50 mix of Desert Sand and Bleached Bone that was thinned. Next, I applied a layer another layer of the same mix with a little more Bleach Bone added to it. This was followed by another layer that was an additional thinning of prior mix with Bleached Bone.
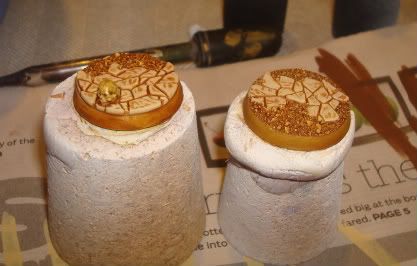
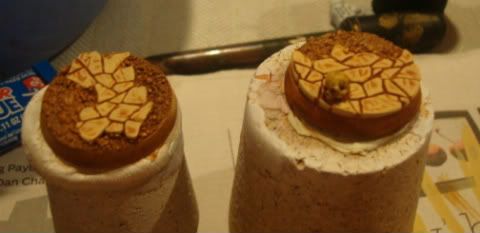
I continued the process of highlighting the cracked areas by using a thinned layer of Bleached Bone. With each additional layer, I added Dead White and thinner to the mix.
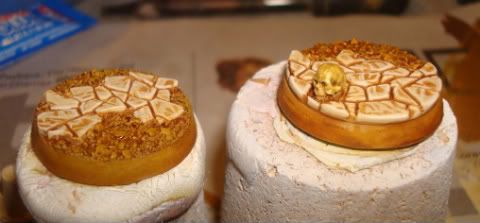
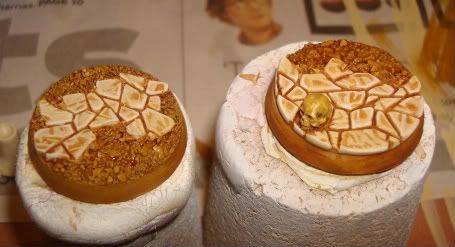
When it came to the sandy sections of each base, I started with a drybrush of Snakebite Brown. This was followed by a drybrush of Vomit Brown. I finished with a soft drybrush of Bleached Bone.
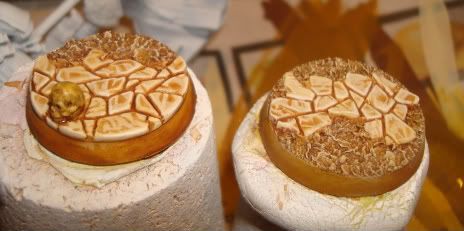
The skull on the one base was painted using a modified version of the approach I use for my skeletons. I gave the model a thinned wash of Sepia, followed by a wash of Devan Mud in the deeper sections of the skull. Once the washes were dry, I layered it with Desert Brown that was mixed with Bleached Bone and Skull White.
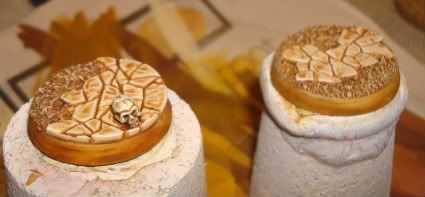
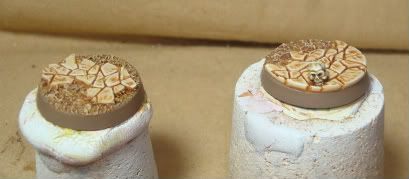
When it came to the rim of the base, I used a couple of thinned layers of Khemri Brown.
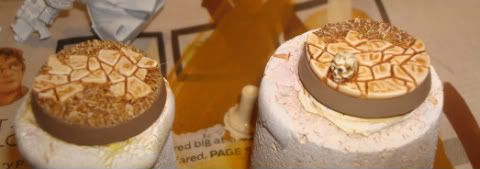
The last step was to add a small clump of static grass to each base. I decided to do this to add a little contrast to the painted colors.
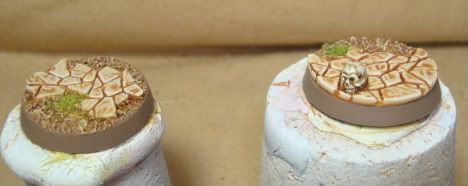
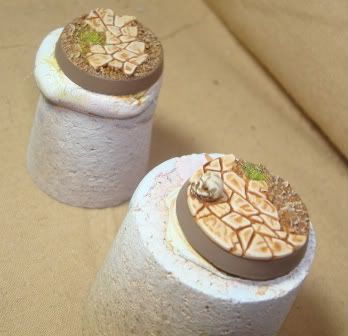
In conclusion, my overall opinion of Dragon Forge’s Broken Wasteland series of resin bases is very high. The quality of resin in casting is well worth the $1.00 per base price. I also found the assortment of bases diverse enough to make each base feel unique while still keeping with the overall theme of the series. I also liked that the bases were designed such that I could add a little bit of static grass to make the bases standout a bit more.

No comments:
Post a Comment