Picking back up with the horse skeleton, the next step is by far the most important as it really does set the tone for the model. The ink wash requires a bit of precision, as the wrong mix of ink and thinner or application of it incorrectly can result in the whole model looking off when compared with other skeletons. My suggestion when using the wash is to apply it from the shallow part of the model into the deeper part.
Brown Ink:Black Ink (8:1:9, brown ink:black ink:thinner)
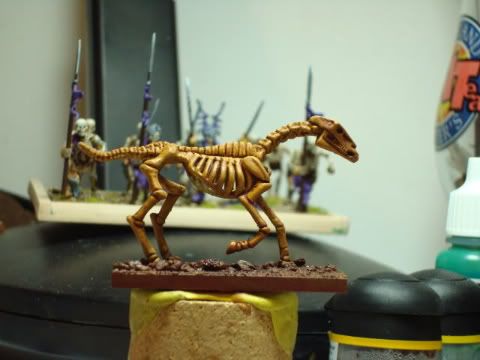
Desert Brown (4:1, paint:thinner)
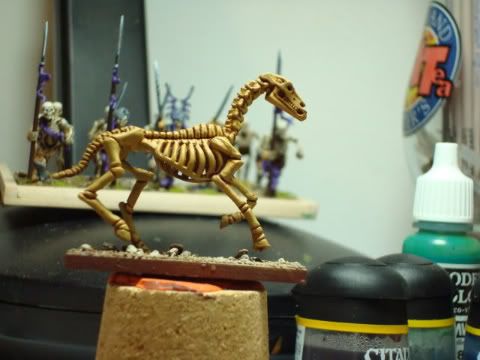
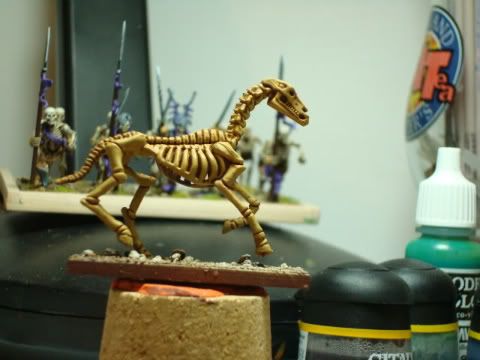

After the wash has been applied, I let the model sit for a few hours, assuring that the wash has completely dried. With the wash dried, I proceed to apply another layer of desert brown (4:1, desert brown:thinner). Depending on coverage, I will apply two layers of the paint as needed.
The next layer is a transition layer, meaning that I will apply it, but don’t need to apply multiple layers like the prior step, as this layer is meant to transition between the desert brown and bleached bone colors. When applying this layer, I will thin the paint slightly more than fundamental layers like straight desert brown or straight bleached bone.
Bleached Bone:Desert Brown (3:3:2, bleached bone:desert brown:thinner)
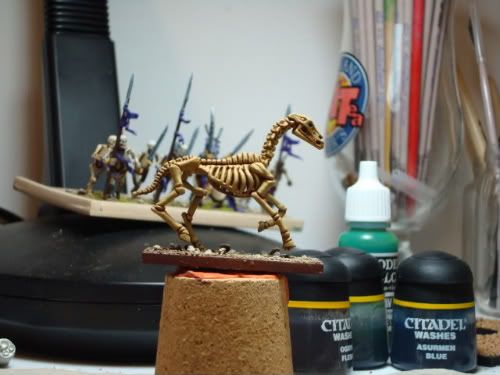
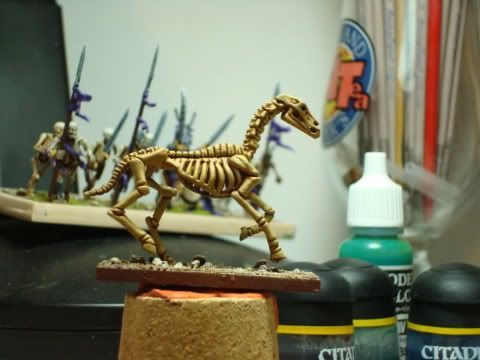
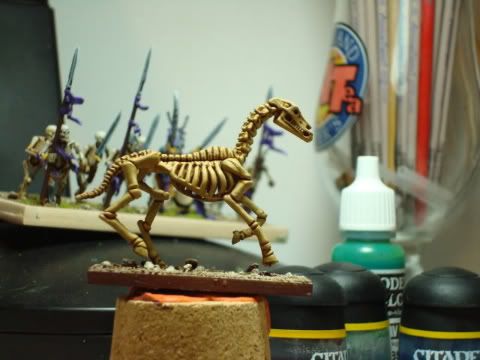
With the transition layer applied, I proceed with another fundamental layer, this time of bleached bone. Again, I apply a first coat and follow it up with another layer of the same color, though applying it to slightly less area.
Bleached Bone (4:1, paint:thinner)
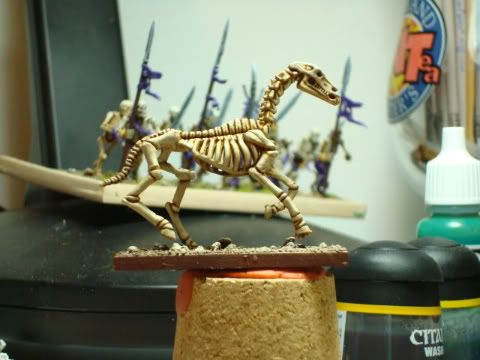
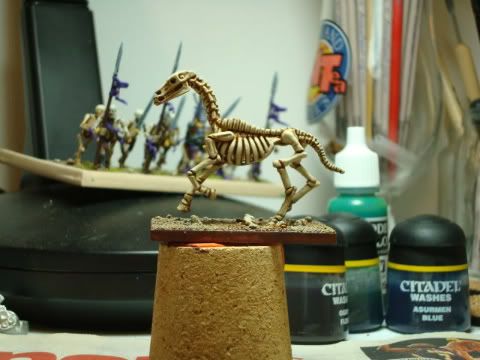
With the second layer applied, I call it a day.

WOW! That's a lot of steps and mixing. It looks incredible though.
ReplyDeleteNice looking skeleton cat! (Horses have hair tails, not bone...)
ReplyDeleteIt looks like a lot of work, but the result is fantastic!
ReplyDelete